


Gather Your Materials & Tools
First thing’s first. You can’t build a masterpiece without the right tools and materials. Here’s the full breakdown of what you need before we even think about drilling a hole.
Materials:
- Frameless aluminum gate panels – Make sure they are cut to size and have the wood-look film applied.
- Aluminum posts – Heavy-duty posts for stability. These are critical.
- Concealed hinges – If you want that super sleek look, go for hidden hinges.
- Latch or smart lock – A modern gate needs a modern locking system.
- Concrete mix or heavy-duty anchor bolts – Depending on whether you’re installing on soil or concrete.
- Rubber spacers – Helps with smooth movement and prevents unnecessary friction.
- Aluminum cladding strips – Optional, but great for making the entire entryway seamless.
Tools:
- Drill with metal bits – Regular bits won’t cut it; get the right ones.
- Driver set – You’ll need a variety of bits for different screws.
- Level – If your gate isn’t straight, it’ll haunt you every time you walk past it.
- Measuring tape and pencil – Precision is key.
- Chalk line or laser level – Get that perfect alignment.
- Rubber mallet – Great for adjusting without damaging the material.
- Grinder with a cutting disc – If you need to make minor adjustments to aluminum pieces.
- Wood shims – For getting the perfect spacing during installation.
Once you have everything, lay it out, double-check, and make sure you’re not missing anything. This is not the time to make a Home Depot run in the middle of the job.
Measure & Mark the Post Locations
You can have the best materials in the world, but if you install your gate even an inch off, you’re gonna have problems. So let’s get this right.
- Measure the gate width and height. Write it down. Triple-check it.
- Mark the exact locations of your posts. Use a chalk line to ensure perfect alignment.
- Check ground level. If you’re working on a slope, adjust accordingly. You don’t want your gate scraping the ground.
- Mark hinge placement on the posts. Frameless gates rely on precision—your hinges need to be aligned perfectly.
Pro tip: Don’t just assume your walls or existing fence is straight. Measure everything independently.
Design Your Ideal Gates Today!

Install the Gate Posts
The foundation of everything. These posts will hold up your gate for years, so do not rush this step.
If Mounting on Concrete:
- Drill holes into the concrete using a hammer drill.
- Insert anchor bolts and tighten them down securely.
- Check for level before fully tightening. Adjust if necessary.
If Installing in Soil:
- Dig at least 24 inches deep for each post. If you’re in a colder climate, go deeper to avoid shifting due to frost.
- Pour concrete into the hole, place the post in, and use braces to hold it in place while the concrete dries.
- Let it set for 24-48 hours before attaching anything.
Pro tip: If you’re in a windy area, reinforce the posts with rebar inside the concrete.
Attach the Frameless Gate Panels
Now we’re getting to the good part. No frame means we need to be precise with hinge placement.
- Lay the gate panels flat on a protected surface.
- Attach hinges to the aluminum panel first. If possible, pre-drill your screw holes to avoid stripping the metal.
- Position the gate between the posts and mark where the hinges need to go.
- Install the hinges on the post. Start with the top hinge, then do the bottom hinge.
- Slowly open and close the gate to check for smooth movement.
- Fine-tune hinge tightness so there’s no sagging or dragging.
Pro tip: Use rubber spacers between the gate and post for extra smooth operation.

Design Your Ideal Aluminum Gates Today!
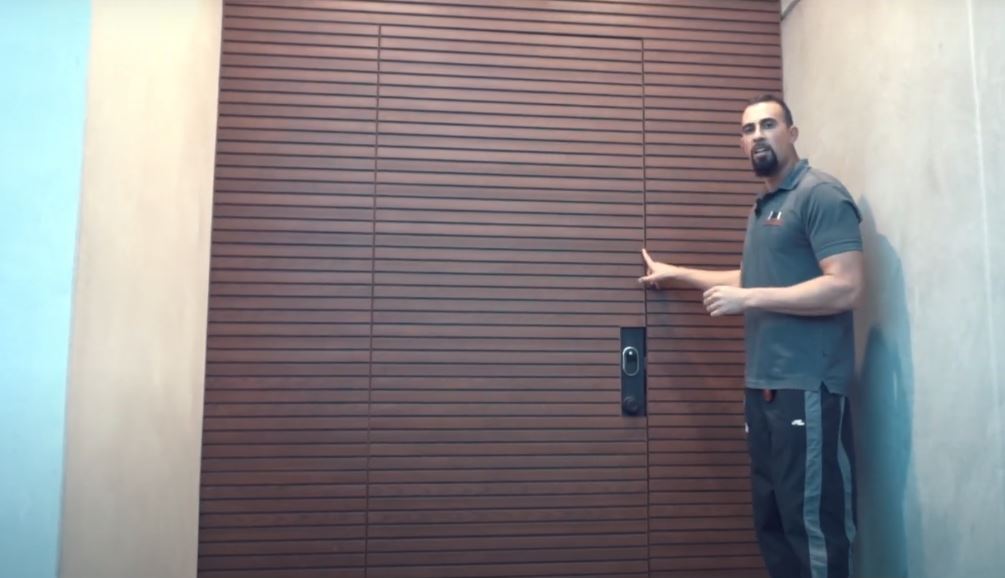
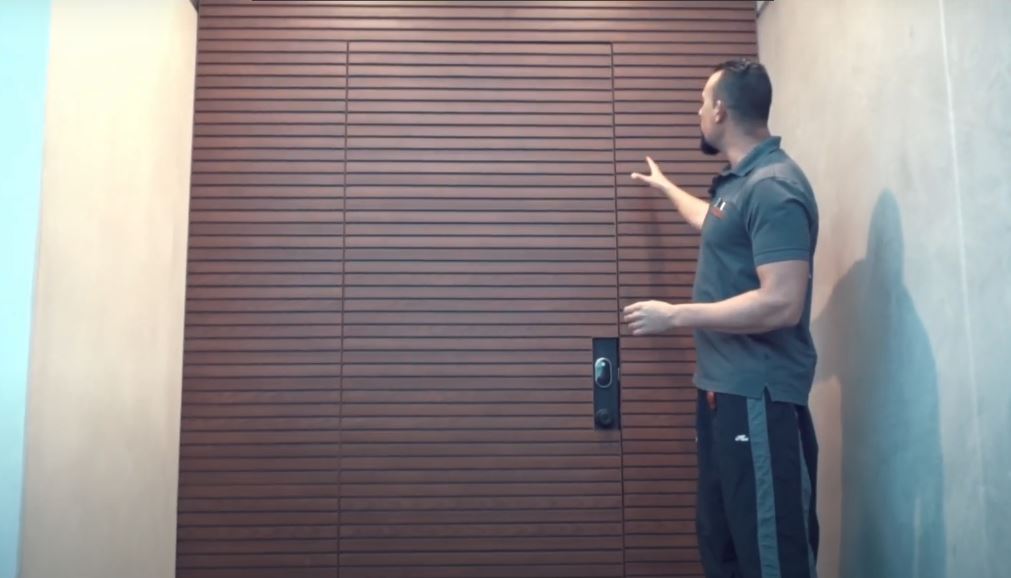
Install the Latch or Smart Lock
Security and convenience, right? A high-end gate needs a high-end lock.
- Decide on latch placement. Standard height is about 42 inches from the ground.
- If using a smart lock, follow the manufacturer’s wiring instructions.
- Ensure perfect alignment so the latch catches cleanly every time.
- Test it multiple times before finalizing the screws.
Pro tip: If you’re going with a keypad or fingerprint lock, make sure it’s weather-rated.
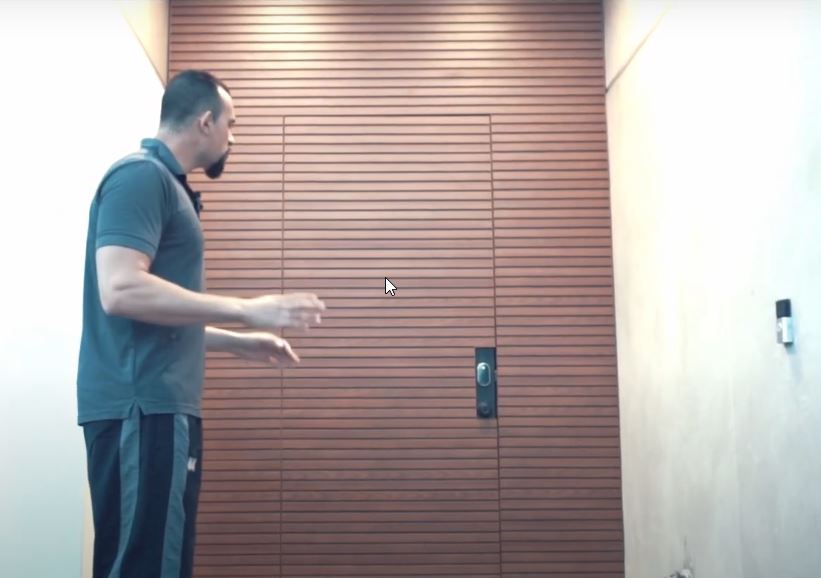

Finishing Touches & Final Adjustments
You’re almost done, but let’s clean this up so it looks as good as it functions.
- Remove any protective film from the aluminum panels.
- Wipe down everything to remove dust and fingerprints.
- Test the swing multiple times. Open, close, lock, unlock—make sure everything is smooth.
- Apply rubber seals if needed for extra noise reduction.
- Step back and admire your work. This isn’t just a gate—it’s an entrance.
WHY THIS GATE IS A GAME-CHANGER
Let’s break it down. Here’s why you just built one of the best gates money can buy:
- No maintenance. Zero. No repainting, no warping, no problems.
- Weatherproof. Sun, rain, snow—this thing won’t fade or crack.
- Looks like real wood but performs like aluminum. That’s best of both worlds.
- Adds massive curb appeal. First impressions matter, and this is a showstopper.
- Full privacy. No gaps, no peeking, just pure security.
If you’re selling your house? This gate adds instant value. If you’re staying? You just made your property look next level.
FAQs
What tools do I need for DIY aluminum gate installation?
For a proper DIY aluminum gate installation, you’ll need essential tools like a drill with metal bits, a level, chalk line, measuring tape, and a rubber mallet. Having the correct aluminum gate hardware—including concealed hinges, locks, and anchor bolts—ensures precision and long-lasting stability.
Can I install an aluminum driveway gate by myself?
Yes, you can install an aluminum driveway gate on your own if you have the right tools and follow a detailed installation plan. However, because driveway gates are larger and heavier than pedestrian gates, proper alignment and secure post setting are critical for smooth operation.
What is included in an aluminum gate frame kit?
A typical aluminum gate frame kit includes pre-cut aluminum profiles, hinges, a latch or lock mechanism, and mounting accessories. Globus Gates’ frameless gate kits come with all required parts for fast DIY assembly—no welding or special fabrication needed.
Are aluminum side gates different from main entry gates?
Aluminum side gates are generally smaller and designed for walkways or secondary entrances, but they use the same high-quality materials as main entry gates. They can match the design of your driveway or front gate for a unified modern look.
How secure are DIY aluminum gates?
When paired with quality aluminum gate locks or smart lock systems, DIY aluminum gates offer excellent security. Their lightweight yet rigid 6063-T6 aluminum structure resists corrosion, bending, and tampering—perfect for both residential and commercial properties.
Can I get installation instructions in a PDF format?
Yes. At Globus Gates, each aluminum gate installation DIY PDF guide includes clear steps, illustrations, and measurements for homeowners and contractors. You can request the digital manual directly from our support team or download it from the product page.