

Installing a new fence and gate isn’t just about improving privacy — it’s an investment that enhances property value, increases security, and defines your outdoor space. Yet many homeowners are unsure what the installation process actually involves. By understanding what professional fence and gate contractors do at each stage, you can better prepare for your project and feel confident throughout the entire experience. This guide breaks down the process in clear, practical detail.
1. The Initial Consultation and Site Evaluation
A fencing project begins long before any materials arrive. The initial consultation is where contractors gather the information they need to design a system that fits your property and meets your goals. This early stage helps prevent misunderstandings and ensures the final installation aligns with your expectations.
Understanding the Contractor’s First Visit
During the visit, contractors carefully evaluate the land, measure boundaries, and identify issues such as drainage patterns or uneven ground. They’ll also ask how much privacy you want, whether you prefer a decorative or functional design, and what your long-term maintenance preferences are. This is the moment to share any aesthetic ideas or concerns you’ve had while researching fences. The more open the conversation, the closer the results will match your vision.
2. Planning, Permits, and Material Selection
Once the basic framework of the project is clear, the planning phase begins. This step ensures the installation meets legal requirements and functions exactly as intended. Good planning often prevents costly delays later.
How Permitting Works
Depending on your location, fences close to sidewalks, roads, or neighboring homes may require city review. Height restrictions are also common, especially in planned communities. Contractors understand these rules and can recommend modifications if a proposed design doesn’t meet local codes. This expertise saves homeowners time and eliminates guesswork.
Choosing the Right Fence Materials
Your material decision will influence the fence’s lifespan, maintenance requirements, and overall appearance. Wood offers warmth and traditional charm, though it requires routine sealing. Vinyl provides longevity and minimal upkeep while maintaining a clean appearance. Metal options like aluminum and steel offer strength without heavy maintenance, making them popular for modern homes. Composite materials combine durability with an upscale look. Each material brings its own personality to the property, and contractors can guide you through which options match your climate, budget, and style goals.
3. Preparing the Property
Before construction begins, the property must be ready for installation. This preparation phase plays a major role in determining how smoothly the project moves forward.
What Happens Before Installation Begins
Contractors begin by mapping out the exact fence line, marking post locations, and ensuring they align with your property boundaries. If your yard has thick brush, rocks, or old posts, these may need to be removed. Elevation changes and slopes are also evaluated, as they may require stepped sections or custom adjustments. Homeowners can assist by removing patio furniture, trimming vegetation, or creating a clear path for workers and equipment. This cooperation helps keep the installation efficient and on schedule.
4. The Fence Installation Process
Installation is where the planning becomes reality. Professional contractors follow a reliable process that ensures the fence looks great and stands strong for many years.
How Contractors Build a Strong Fence Foundation
Post installation is one of the most important steps. Contractors dig holes at the proper depth based on soil type, frost lines, and fence height. Posts are positioned carefully and secured with concrete to prevent movement. Even small errors in post placement can cause noticeable misalignment later, which is why professionals take their time to verify height, spacing, and stability.
Attaching Panels and Creating a Clean, Even Fence Line
Once the posts are secure, the rest of the structure is added. Panels or boards are installed section by section, ensuring each piece is level and consistent. This step requires skill, especially around corners or hilly areas where adjustments must be subtle but precise. Contractors may custom-cut panels or rails to achieve a seamless appearance. After this, they attach finishing touches that protect the fence and enhance visual appeal.
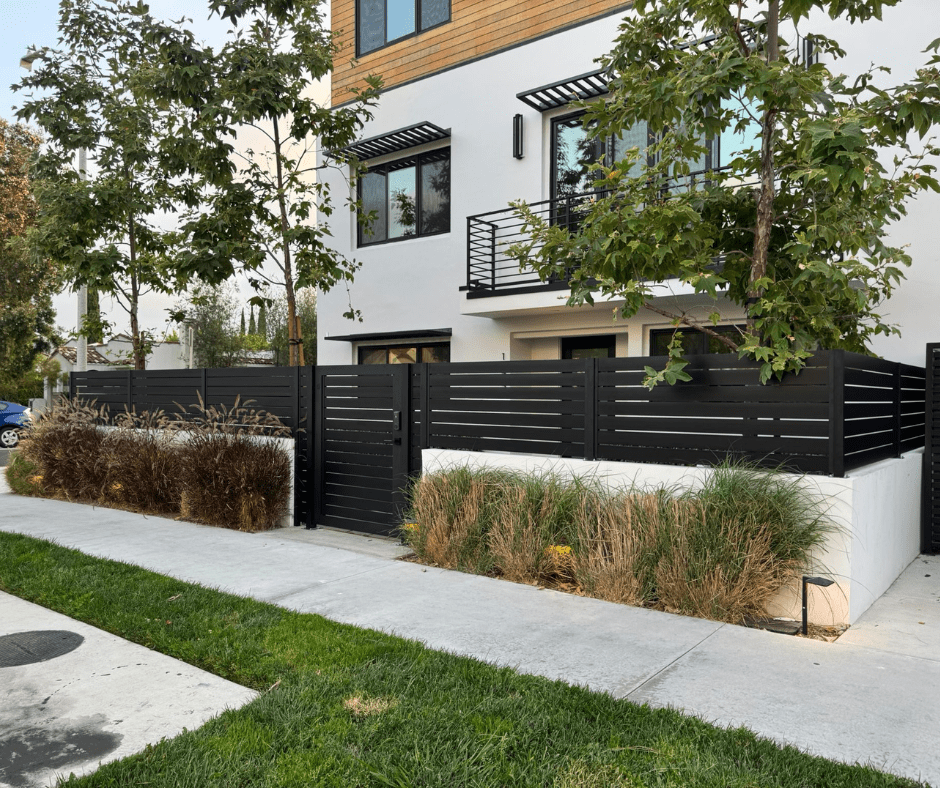
5. Gate Installation Explained
A gate is more than just an entry point — it is a functional component that requires balance, alignment, and strength. Because gates experience more movement than the rest of the fence, they must be installed with extra care.
Why Gate Installation Requires Extra Precision
Contractors use reinforced posts and specialized hardware to support the weight and motion of a gate. They make precise adjustments so the gate swings without dragging and closes securely. Even a small misalignment can cause issues over time. Proper tension, spacing, and hinge placement prevent sagging and ensure smooth operation.
Understanding the Role of Proper Gate Design
Before attaching the gate, contractors consider how often it will be used, the direction it should swing, and how it fits with the surrounding fence style. Larger driveway gates may require additional bracing or upgraded hinges. Automatic gates may need wiring routes planned in advance. A thoughtfully designed gate not only adds convenience but also complements the entire fencing system.
6. Final Inspection, Walkthrough, and Cleanup
When construction is complete, the contractor performs a final review to ensure everything meets both industry standards and your expectations. This final phase helps homeowners feel confident that their investment has been handled with care from start to finish.
What to Expect During the Final Walkthrough
Contractors walk the fence line with you, checking for level sections, secure posts, and smooth gate movement. They’ll also identify small details that homeowners might overlook, such as proper latch alignment or tightened fasteners. After the walkthrough, the crew removes debris and cleans the work area. You’ll receive guidance on routine maintenance — such as cleaning, sealing, or hardware checks — to protect your fence over time.
7. Installation Timelines and What Affects Them
A typical residential fence installation takes one to three days, but several factors can influence timing. Rocky soil, rain, custom design elements, long distances, or multiple gates may extend the project. Contractors can give a more accurate timeline after inspecting your property and understanding your fence design. Good planning and preparation help keep the project on schedule.