


Tools and Materials Checklist
Before you start, gather everything you need. There’s nothing worse than getting halfway through and realizing you’re missing an important piece.
Essential Tools:
- Power drill (preferably cordless for convenience)
- Level (for proper alignment)
- Tape measure (accuracy is key)
- Angle grinder (for metal adjustments if needed)
- Socket wrench set
- Welding machine (if attaching to metal posts)
- Screwdrivers (both Phillips and flat-head)
- Concrete mixer (if setting new posts)
- Ladder (for adjustments)
Materials Needed:
- Pre-fabricated aluminum gate frame and glass panels
- Heavy-duty gate hinges (or a sliding track system)
- LiftMaster motor (or any automated gate opener)
- Smart controller (like MyQ for remote access)
- Fasteners and bolts (preferably rust-proof)
- Concrete (for securing posts)
- Gate track (if installing a sliding system)
Pro Tip: Label all hardware before starting. There are multiple bolts, nuts, and brackets, and mixing them up can cause delays.
Step 1: Preparing the Installation Area
Before installing the gate, ensure the installation area is properly prepared.
What You Need to Do:
- Clear the area of any obstacles, old gates, or debris.
- Measure the opening where the gate will be installed. Ensure that the gate frame fits precisely.
- Check the ground slope. If your driveway isn’t level, consider:
- Adjustable hinges for a swing gate
- A leveling track for a sliding gate
- Mark the post locations. Misaligned posts will cause installation problems later.
Troubleshooting Tips:
- If the ground is uneven, use adjustable post brackets or pour a small concrete ramp to level it.
- If the posts are too far apart, add spacers or side panels to close the gaps.

Design Your Ideal Gates Today!
Step 2: Installing the Gate Posts
The gate’s stability depends on properly installed posts.
How to Install Gate Posts:
- For metal posts:
- Weld base plates to the bottom and bolt them into a concrete footing.
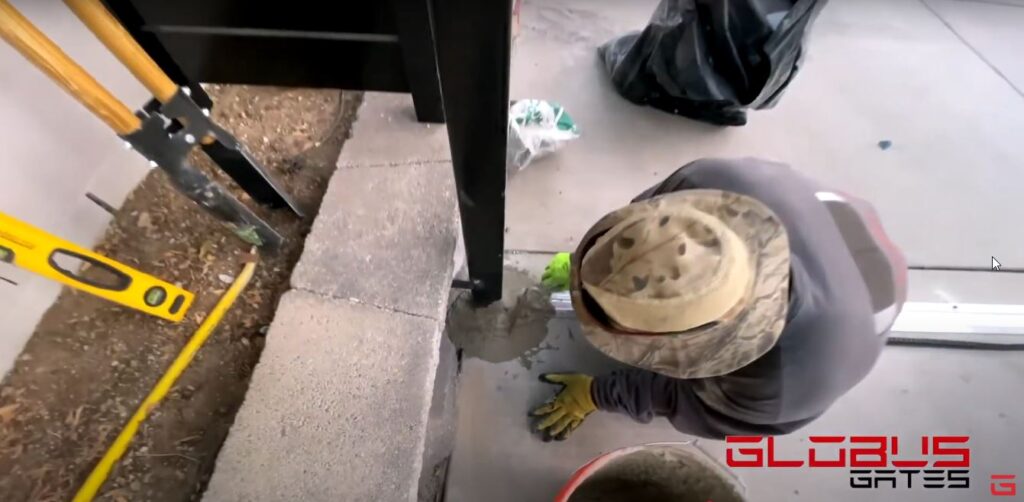
- For concrete posts:
- Dig holes at least two feet deep using a post hole digger or auger.
- Pour concrete into the holes and insert the posts.
- Use a level to ensure posts are perfectly vertical.
Let the concrete set for 24 to 48 hours before proceeding.
Troubleshooting Tips:
- If a post is not level, adjust it before the concrete fully sets.
- If a post feels wobbly, add extra bracing while it dries.
Step 3: Mounting the Aluminum Gate Frame
Now it’s time to install the main gate frame.
How to Do It:
- Attach the hinges to the gate post using heavy-duty bolts.
- Lift the aluminum frame onto the hinges. This requires at least two people.
- Check the alignment by opening and closing the gate manually. It should move smoothly without dragging.
Troubleshooting Tips:
- If the gate does not open evenly, loosen the hinge bolts and readjust.
- If the gate is too heavy for the hinges, upgrade to reinforced ball-bearing hinges.
Design Your Ideal Aluminum Gates Today!
Step 4: Installing the LiftMaster Motor and Smart Opener
This step automates the gate, making it convenient and secure.
For a Swing Gate:
- Attach the swing-arm motor to the gate and post.
- Position the arm correctly—if it is too short or too long, it will not function properly.
- Connect the motor to a power source.
For a Sliding Gate:
- Install the track along the driveway.
- Secure the gate roller wheels underneath the frame.
- Mount the motor unit beside the track.
- Install a MyQ Smart Controller for app-based control.
Troubleshooting Tips:
- If the gate does not respond, check the power supply and remote pairing.
- If the gate does not fully close, adjust the limit settings on the motor.
- If the motor lacks power, verify that it matches the gate’s weight capacity.


Step 5: Final Adjustments and Safety Checks
With the gate installed, a few final steps ensure smooth operation and long-term durability.
Checklist:
- Tighten all bolts and verify alignments.
- Install safety sensors to prevent the gate from closing on vehicles or people.
- Lubricate all moving parts for smooth operation.
- Test multiple times to ensure it opens and closes correctly.
Pro Tip: Install an external keypad for backup access in case the remote fails.
Step 6: Enjoy Your New Gate
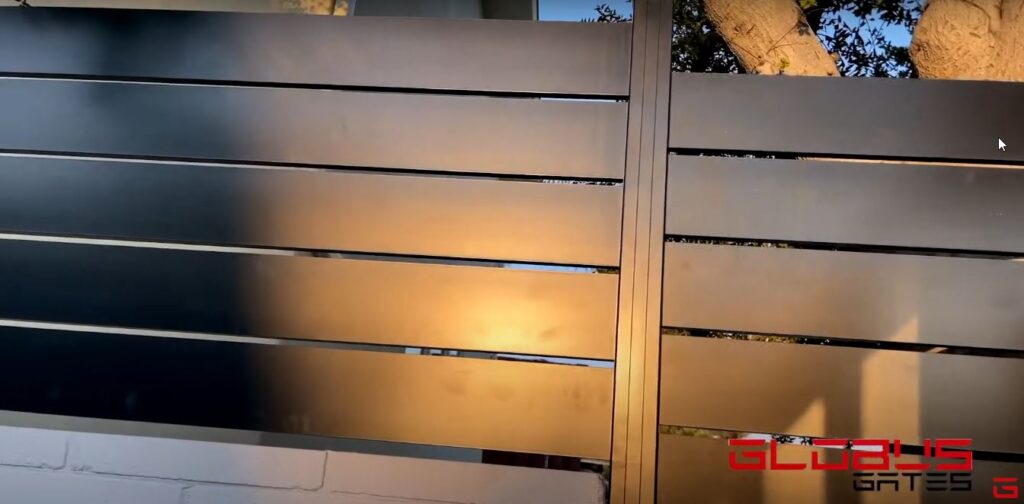
Once testing is complete, your glass aluminum driveway gate is ready for use.
- Modern and stylish design
- Weather-resistant and low-maintenance
- Smartphone-controlled for convenience
- Secure and built to last