


Tools and Materials Checklist
Before you start, gather everything you need. There’s nothing worse than getting halfway through and realizing you’re missing an important piece.
Essential Tools:
- Power drill (preferably cordless for convenience)
- Level (for proper alignment)
- Tape measure (accuracy is key)
- Angle grinder (for metal adjustments if needed)
- Socket wrench set
- Welding machine (if attaching to metal posts)
- Screwdrivers (both Phillips and flat-head)
- Concrete mixer (if setting new posts)
- Ladder (for adjustments)
Materials Needed:
- Pre-fabricated aluminum gate frame and glass panels
- Heavy-duty gate hinges (or a sliding track system)
- LiftMaster motor (or any automated gate opener)
- Smart controller (like MyQ for remote access)
- Fasteners and bolts (preferably rust-proof)
- Concrete (for securing posts)
- Gate track (if installing a sliding system)
Pro Tip: Label all hardware before starting. There are multiple bolts, nuts, and brackets, and mixing them up can cause delays.
Step 1: Preparing the Installation Area
Before installing the gate, ensure the installation area is properly prepared.
What You Need to Do:
- Clear the area of any obstacles, old gates, or debris.
- Measure the opening where the gate will be installed. Ensure that the gate frame fits precisely.
- Check the ground slope. If your driveway isn’t level, consider:
- Adjustable hinges for a swing gate
- A leveling track for a sliding gate
- Mark the post locations. Misaligned posts will cause installation problems later.
Troubleshooting Tips:
- If the ground is uneven, use adjustable post brackets or pour a small concrete ramp to level it.
- If the posts are too far apart, add spacers or side panels to close the gaps.

Design Your Ideal Gates Today!
Step 2: Installing the Gate Posts
The gate’s stability depends on properly installed posts.
How to Install Gate Posts:
- For metal posts:
- Weld base plates to the bottom and bolt them into a concrete footing.
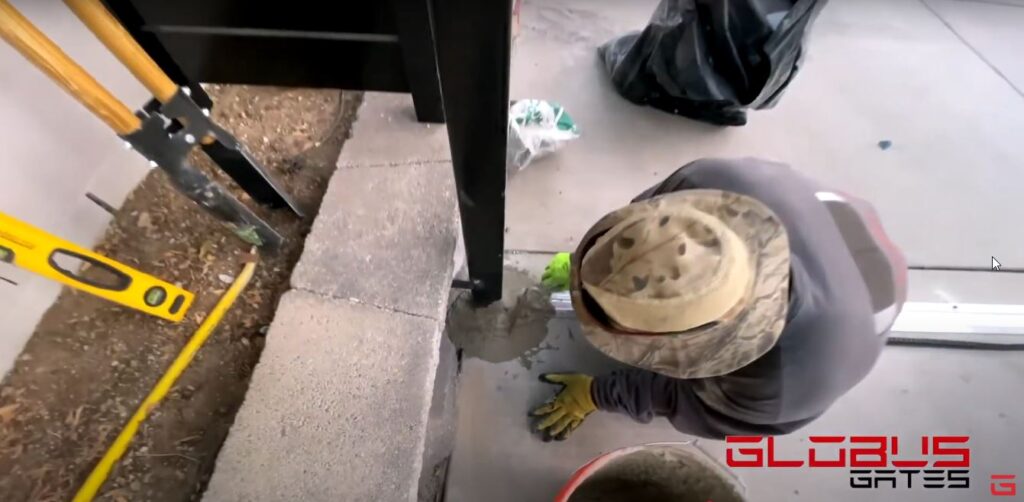
- For concrete posts:
- Dig holes at least two feet deep using a post hole digger or auger.
- Pour concrete into the holes and insert the posts.
- Use a level to ensure posts are perfectly vertical.
Let the concrete set for 24 to 48 hours before proceeding.
Troubleshooting Tips:
- If a post is not level, adjust it before the concrete fully sets.
- If a post feels wobbly, add extra bracing while it dries.
Step 3: Mounting the Aluminum Gate Frame
Now it’s time to install the main gate frame.
How to Do It:
- Attach the hinges to the gate post using heavy-duty bolts.
- Lift the aluminum frame onto the hinges. This requires at least two people.
- Check the alignment by opening and closing the gate manually. It should move smoothly without dragging.
Troubleshooting Tips:
- If the gate does not open evenly, loosen the hinge bolts and readjust.
- If the gate is too heavy for the hinges, upgrade to reinforced ball-bearing hinges.
Design Your Ideal Aluminum Gates Today!
Step 4: Installing the LiftMaster Motor and Smart Opener
This step automates the gate, making it convenient and secure.
For a Swing Gate:
- Attach the swing-arm motor to the gate and post.
- Position the arm correctly—if it is too short or too long, it will not function properly.
- Connect the motor to a power source.
For a Sliding Gate:
- Install the track along the driveway.
- Secure the gate roller wheels underneath the frame.
- Mount the motor unit beside the track.
- Install a MyQ Smart Controller for app-based control.
Troubleshooting Tips:
- If the gate does not respond, check the power supply and remote pairing.
- If the gate does not fully close, adjust the limit settings on the motor.
- If the motor lacks power, verify that it matches the gate’s weight capacity.


Step 5: Final Adjustments and Safety Checks
With the gate installed, a few final steps ensure smooth operation and long-term durability.
Checklist:
- Tighten all bolts and verify alignments.
- Install safety sensors to prevent the gate from closing on vehicles or people.
- Lubricate all moving parts for smooth operation.
- Test multiple times to ensure it opens and closes correctly.
Pro Tip: Install an external keypad for backup access in case the remote fails.
Step 6: Enjoy Your New Gate
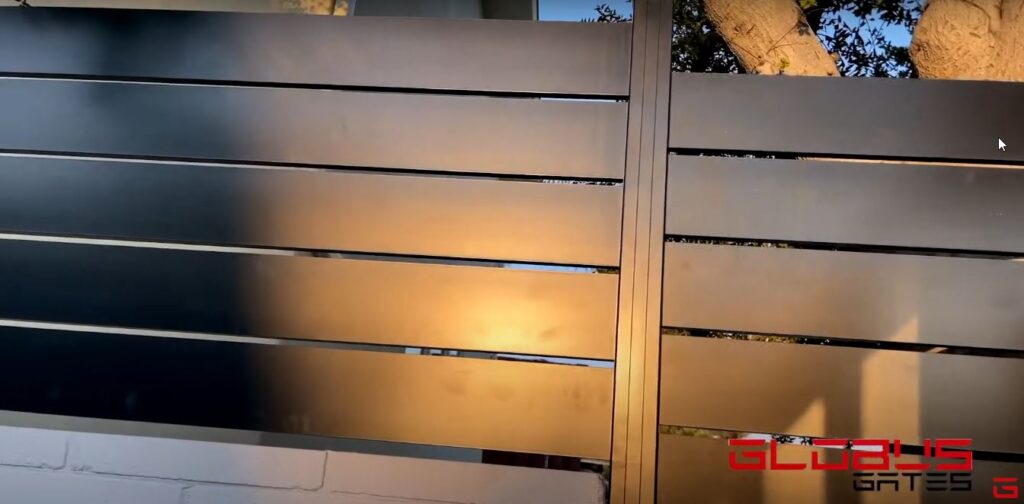
Once testing is complete, your glass aluminum driveway gate is ready for use.
- Modern and stylish design
- Weather-resistant and low-maintenance
- Smartphone-controlled for convenience
- Secure and built to last

Chris is a Sales Manager and blog writer for Globus Gates, sharing expert insights on aluminum gates, fences, patio covers, and exterior systems. His content focuses on helping homeowners, contractors, and designers choose durable, modern, and non-combustible solutions for their properties.